Because the Alfa engine is fuel injected, I have to create a return line. But because the old fuel line isn’t all to good anyomore (rusty at the ends) and it’s 6 mm (the Alfa has 8 mm), I decided to place two new 8 mm fuel lines. The original fuel line (through the tunnel) won’t be used anymore.
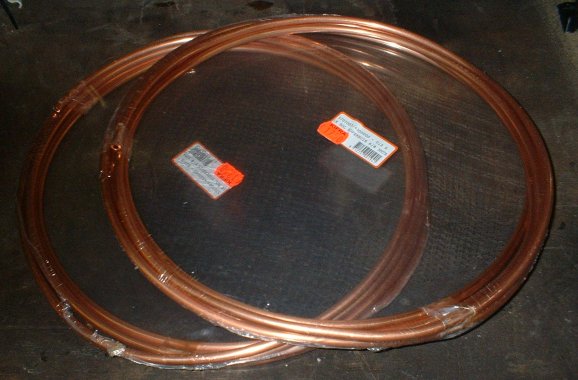
After searching various shops (the auto-parts stores don’t sell it) I ended up bying 8 mm copper fuel line at a camping shop… This copper line is normally used in caravans and mobile homes as gas-lines (for cooking and heating). Now I’ve got 2 times 5 meters of copper fuel line (and this for only 17,95 euros per 5 meters):
I plan on placing the lines under the car, but haven’t decided yet if it will be under the central tunnel or under the heater-channel on the passenger side.
edit 09-07-2006: I decided to place the fuel line under the heater channel. There the line is better hidden. But, I can only place one line there, because of the limited room. I am placing the return line on the drivers-side and the feed-line under the passengers side. I started with the return-line.
First, I had to make some brackets. For this I got some angled pieces of iron, and bend one side of it:
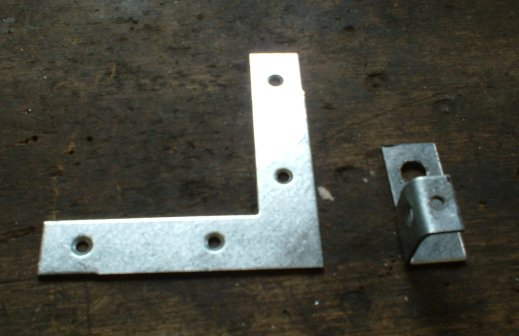
Angled iron on the left, the finished bracket on the right.
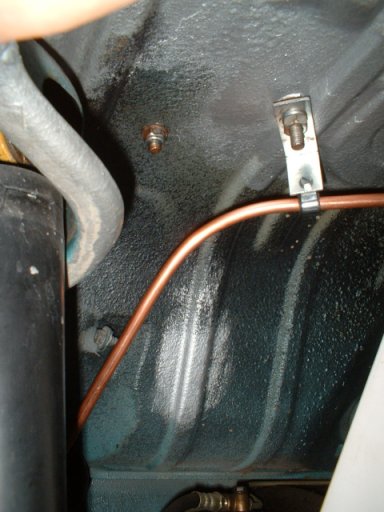
The little hole in the top of the bracket is for the clamp I’m going to use to attach the fuel line. This is a test setup I made:
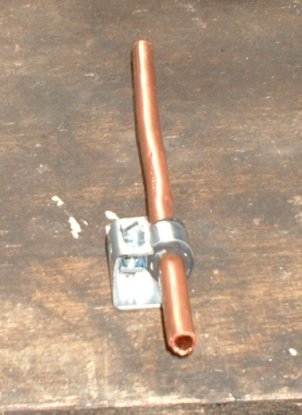
I put a small piece of 8 mm rubber fuel line around the copper fuel line, and around that I put the clamp, which is a normal clamp to attach rubber fuel lines to hard fuel lines.
After making 10 (five of them in mirror image) of these brackets I started bending the copper fuel line to fit the shape of the heater-channels. Well, I didn’t actually attached it to the heater channels but to the pan, using the bolts that attach the heater channel to the floorpan. This is the line to the front:
I still have to bend the end upwards, but I will do that when I know how I’m gonna return it to the fuel-tank.
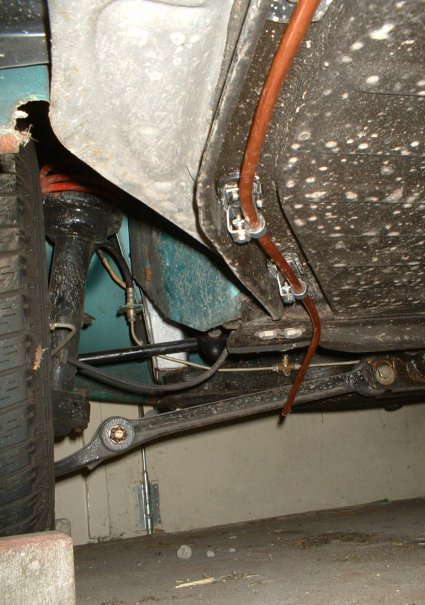
This is the return lint to the back:

On the end I had to cut a piece of the jack-bracket so I could guide the line around it (slightly visible in the picture if you take a close look). After that It goes upwards to the backside of the parcel shelf floor:
[edit 17-09-2006]:I cut this line and placed a fuel filter in there, see other page [end edit]
From there is goes to the other side of the car. But that is another piece I made which is attached to this line with a piece of rubber fuel line (not in the picture). The attachment point on the engine is on the right side.
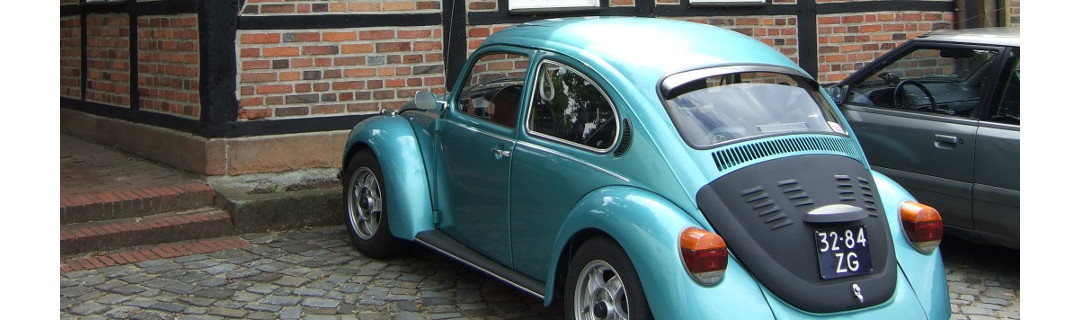
After this I had to turn the car around so I can work on the passengers side. I used the opportunity to make a picture while it was out in the sun:
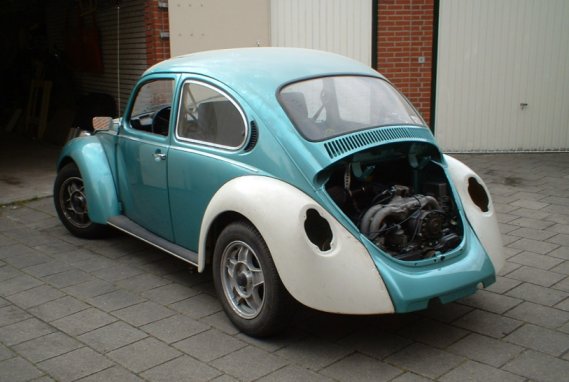
I like it…. 🙂 … it’s a little bit high in the back, I was surprised to notice that. I thought the extra weight of the engine would make it lower in ther back… Maybe it’s because the water isn’t in it and the exhaust and rear decklid isn’t on it. But apperently removing the bumper and using fiber glass fenders makes quite a big difference.
edit 08-08-2006:Connected the fuel pump to the feed line.
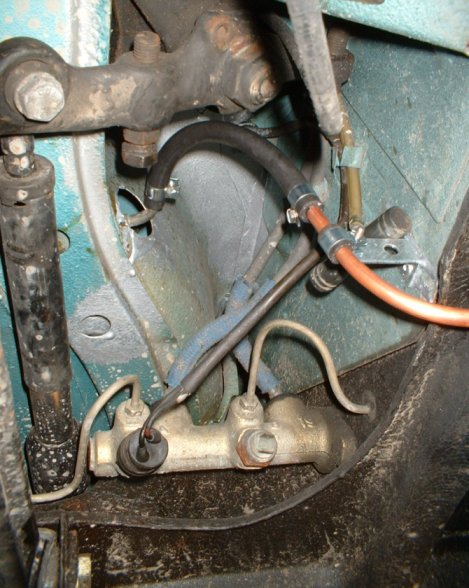
I had to make a bracket to support the copper fuel line as it goes up towards the fuel pump.
Leave a Reply