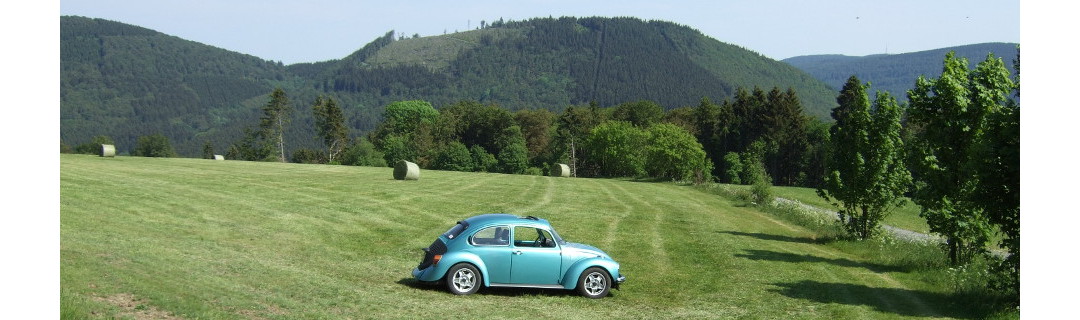

The lights on my beetle work fine! Nothing wrong with them, they are all working and bright. But, that doesn’t mean I can’t “fix” them.. 🙂
When I discovered LED’s, I knew I had to have them. They are long-lived, are bright instantly (usefull for brakelights) and they use a lot less energy. Especially that attracted me to LED’s. I always drive with the lights on, night and day. That means, that the rear lights, the dashboard lights and the headlights are always on. Which will cost me gas. It may not be much, but I hate just wasting that when there is a way to fix it. So I started to convert the lights to LED’s.
Taillight and Licenseplate light
I also own a motorcycle and because of that I tend to go through online motorcycle parts shops. There I found this:

You’re looking at two LED chopper “tombstone” taillights and a LED license plate light. The taillighs where on sale for 12 euros a.p. That’s a bargain!
The great thing about using these taillights is, they have are approved by euro standards (E-sign). So, the LED’s have the right brightness and projection angle.
If I had build the taillight from scratch, I would have to determine what brightness to use (mcd value) and what projection angle would be enough. Because I don’t want to guess when it comes to my taillights, I bought these motorcycle taillights (and they were cheap! 🙂 ).
After taken the taillights apart, I ended up with this:
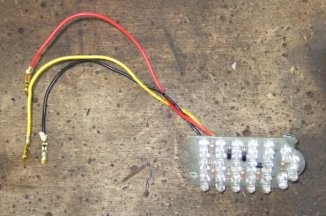
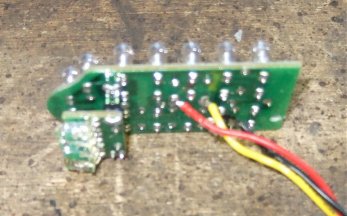
The print plates are quite square and on the back there are 4 leds pointing upwards (in motorcylce setup) as a license plate light. I will mount it so that these are pointing outwards. So the taillight is also visible from the side.
In the above pictures I removed the black plastic holder that holds the print plate. When figuring out how to mount the LED’s I discovered the fastest way was to use that black plastic holder.
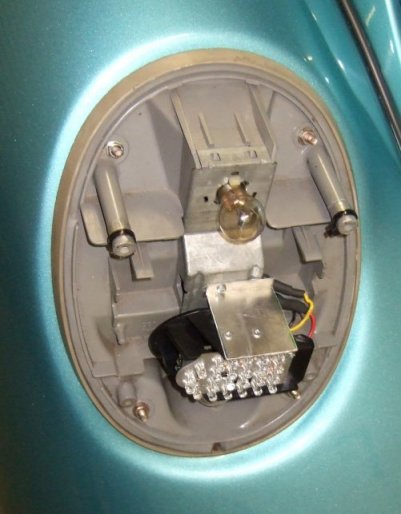
I used to angled pieces of aluminum popriveted to the black plastic and screwed to the iron plate that holds the bulbs. Note that I pointed the license plate LEDs outwards.
I cut the motor cycle connectors and soldered on some normal spade type connectors.
It’s important to put the LEDs close to the taillight lense. And with these elephant taillights it’s important to position them in the square with the flat surface in the middle.
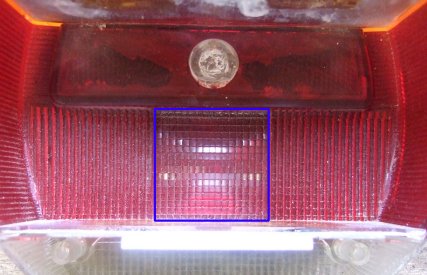
The arear in the blue square is flat, and the area to the left and righ to it has a ribbed profile. This profile is meant to break up the light of the normal bulb. This does not work with LEDs!
Licenseplate light
I also bought a motorcycle license plate light.

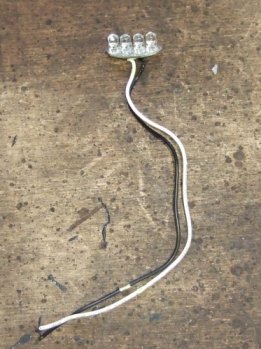
I took the housing off, and that left a nice small print plate with 4 LEDs in a row on it.
I removed the original bulb holder, and made a holder for the 4 LEDs from a small piece of thin aluminum. And I soldered the wires to the original wires that normally go to the bulb holder.
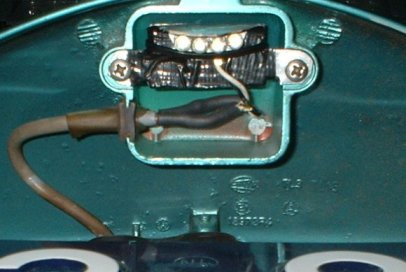
The 4 LED’s are professionally held to the aluminum piece with a tie-wrap.. 🙂 . I put some duct-tape on the aluminum to make sure the print plate didn’t short out.
In the picture I only screwed in the aluminum holder as a test, it is missing the plastic glass cover. Now that it is finished, I put the plastic glass back on.
And this is the result:
The left light is a LED light, the right light contains an old-fashion bulb. It looks like the bulb is brighter than the LED, but that isn’t true. The LED light is more intense. It’s difficult to make a realistic picture, as the camera is looking into the light. The bulb does light up the taillight better, that’s because the bulb has a 180 degree projection angle, while the LED’s are closer to the taillight glass and have a smaller projection angle (but big enough to be good visible from behind). Look at the standard Hella LED third brakelight, that one is brigther than a bulb taillight, but it doesn’t show in the picture.
The license plate light is also very bright, it’s brighter than original.
Leave a Reply