
On this page I describe how I made version 1 of the A-pillar deflectors, I have now created a newer version, see: link
I wanted to create them out of fiberglass. And I wanted to create them on the car. But I didn’t want the fiberglass to stick to the car permanently. I wanted them to be removeable. So, first I did some tests on a piece of painted metal I cut out of my bug earlier during the Alfa Romeo conversion. I put some masking tape on it and some fiberglass on top of it. The fiberglass got through the masking tape on to the paint! Not good. After some more tests, the best compination proved to be masking tape on the car. On top of that alumium tape (the tape you use to seal alumium air vents) and on top of that masking tape again, to give the fiberglass something to hold on to (it alumium tape was to slippery).
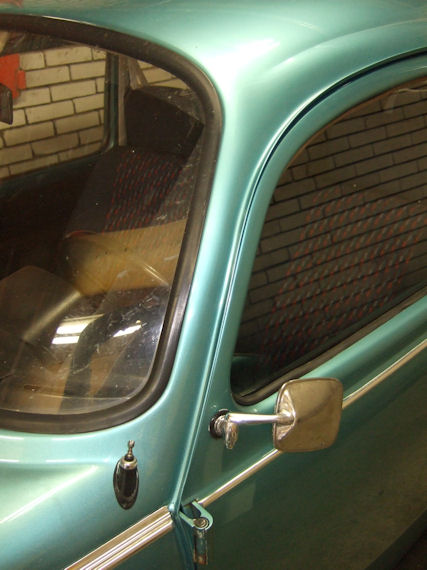
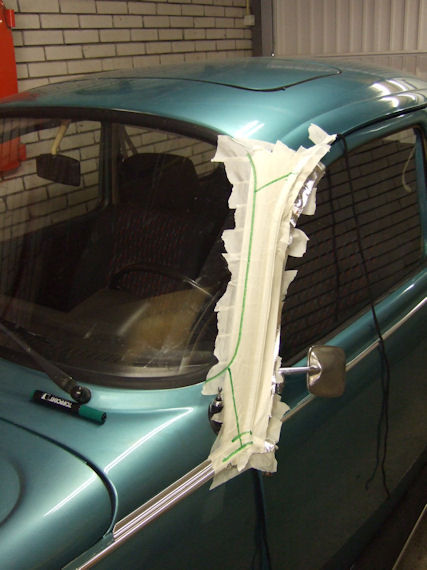
I started with the left (drivers side) one, the starting point:
I put a thick piece of string in the raingutter, so it will leave room under the raingutter filler for rain water to drain.
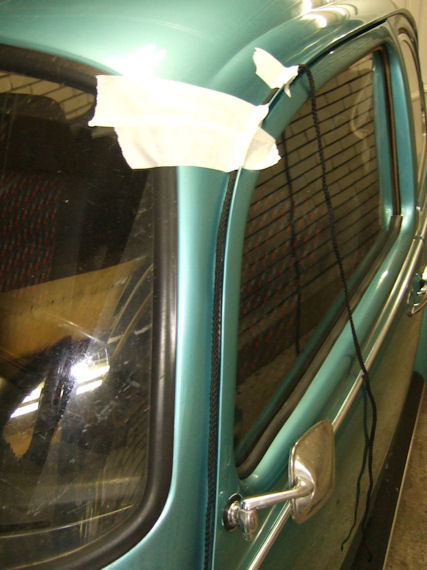
Put the first layer of masking tape on the body, so the next layer of alumium tape will not stick directly to the car.
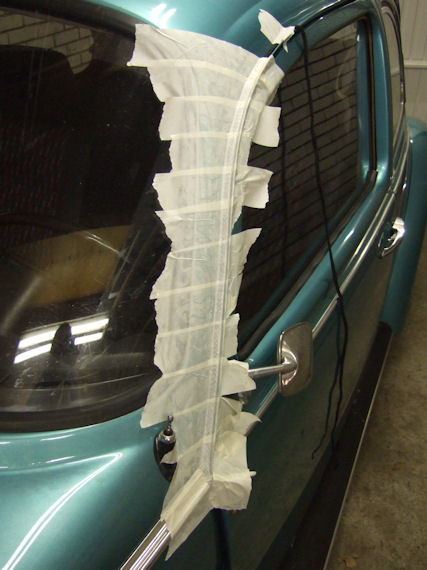
The alumium tape:
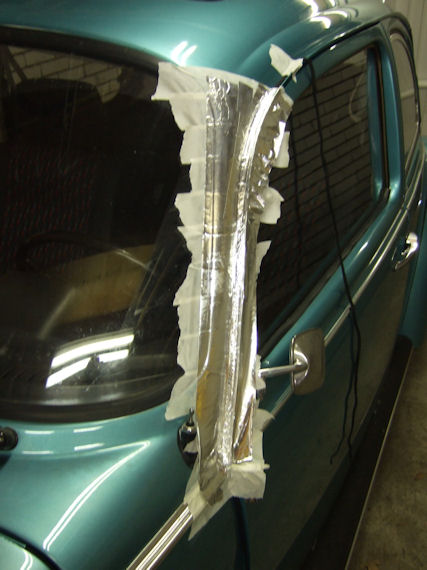
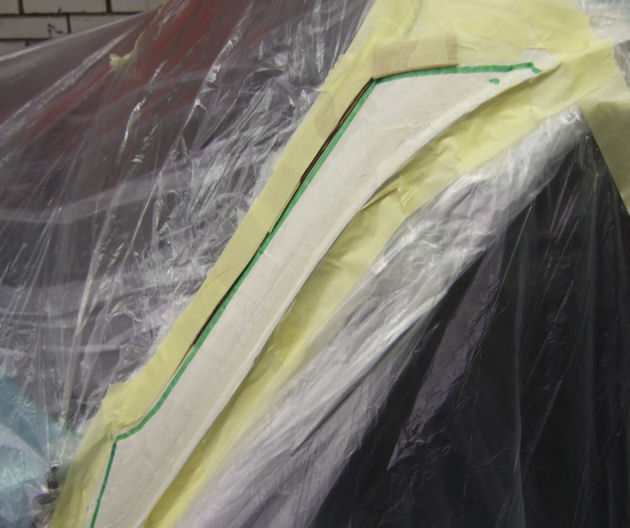
Because alumium tape is too slippery for the glassfiber, I put another layer of masking tape over the alumium tape. It also made it easer to outline the intended shape with a marker.
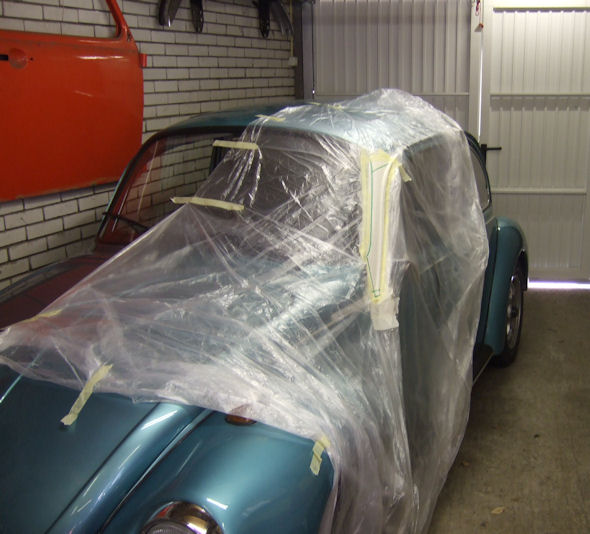
Put plastic over the car to prevent glassfiber to accidentely fall on the paint.
Because the layer of fiberglass would be too thin, I made a small ridge of carboard on the window seal area.
Put the fiberglass on. It’s glassfiber mixed with fibers, to give it strength.
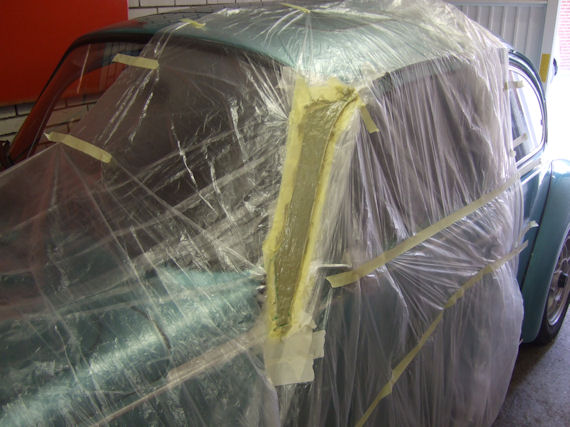
And put fiberglass filler on it, so I can sand it smooth.
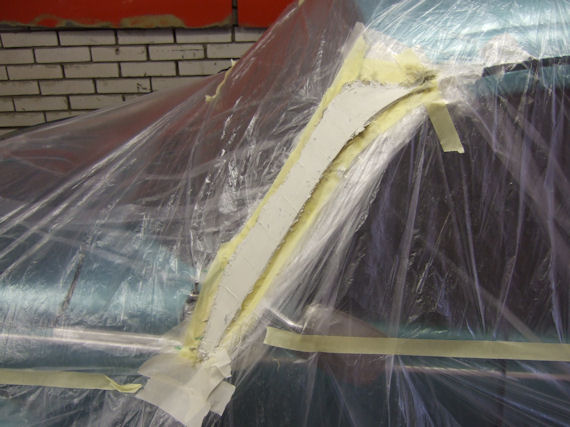
After I popped out of the raingutter, I had to do a lot of sanding and filling to make it smooth. Now it is acceptable..
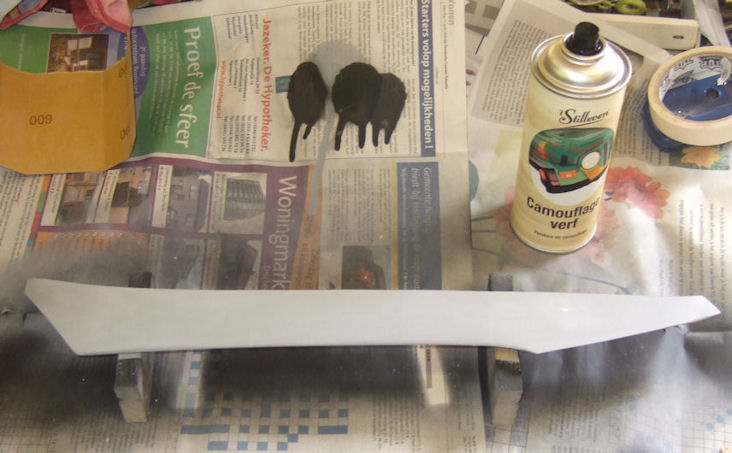
After that I painted it flat black. And in an attemp to make them invisible I used Camouflage black…
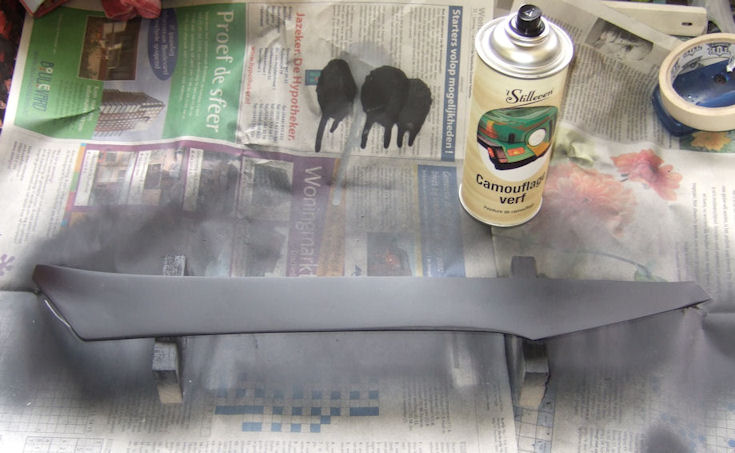
If you look very very close you can see that the raingutter filler is really in this picture. Damn…that camouflage paint works good! 😉 😉
On the next page, I’ve got them installed and tested.
Leave a Reply