edit 22-03-2010: I am converting my rear drum brakes to disc brakes, see
I finally bought this:
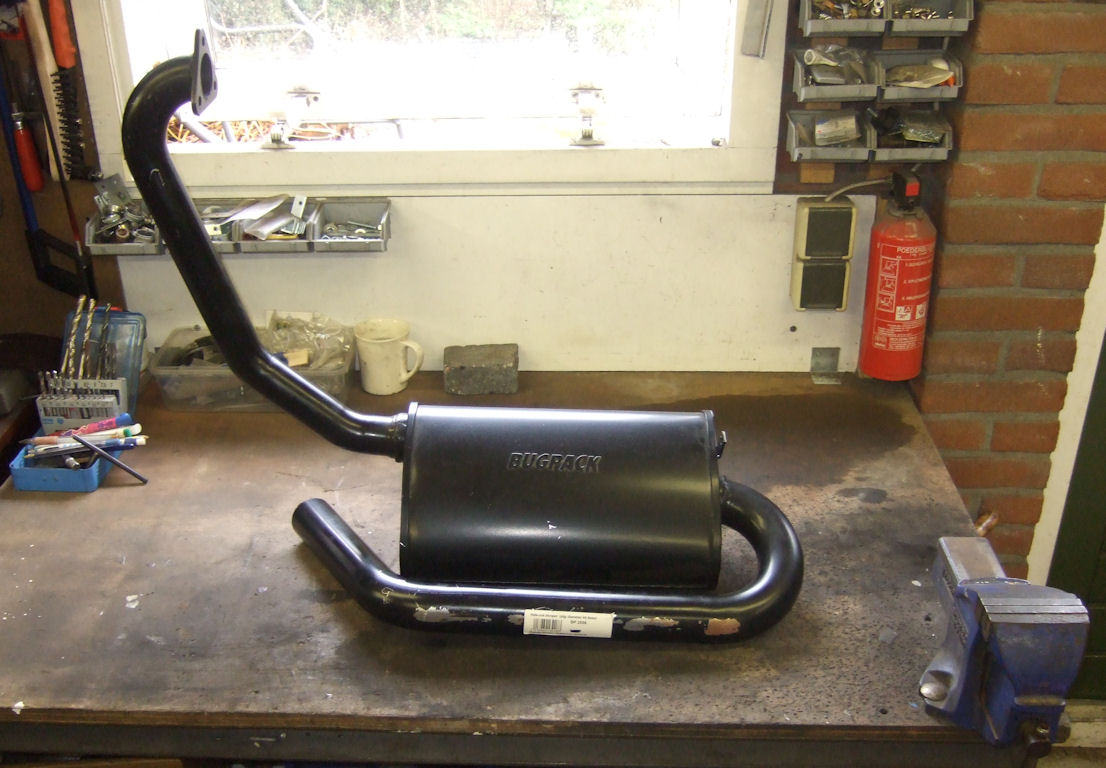
It is a bugpack hideout muffler which was very reasonably priced AND in various threads on different forums people say it is a quiet muffler. Add the fact that is mounted inside the rear wheel well, and it makes a good choice for this situation. I also searched for mufflers that would fit under the rear apron, but I couldn’t find one that would fit and could be connected to the centered outlet of my header.
After trying different positions, I decided to cut of the inlet and outlet pipes, and not mount it in the wheel well. I placed it half under the engine, and half under the wheel well. So after some angle grinder mayhem and some crappy welding, this was the result:
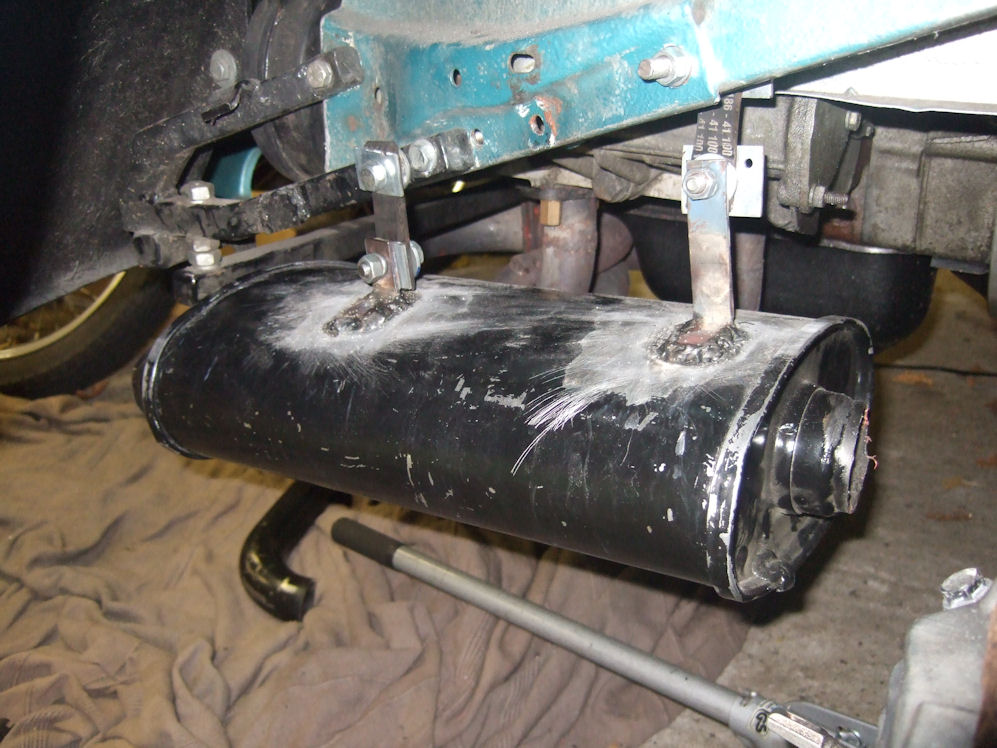
When I had the motorcycle muffler on it, I had some problems with the rubbers with which the silencer was suspended. I replaced it with a piece of an old distribution belt. And that worked perfectly. It didn’t meld or stretch. So I again used some pieces of that belt to suspend this muffler.
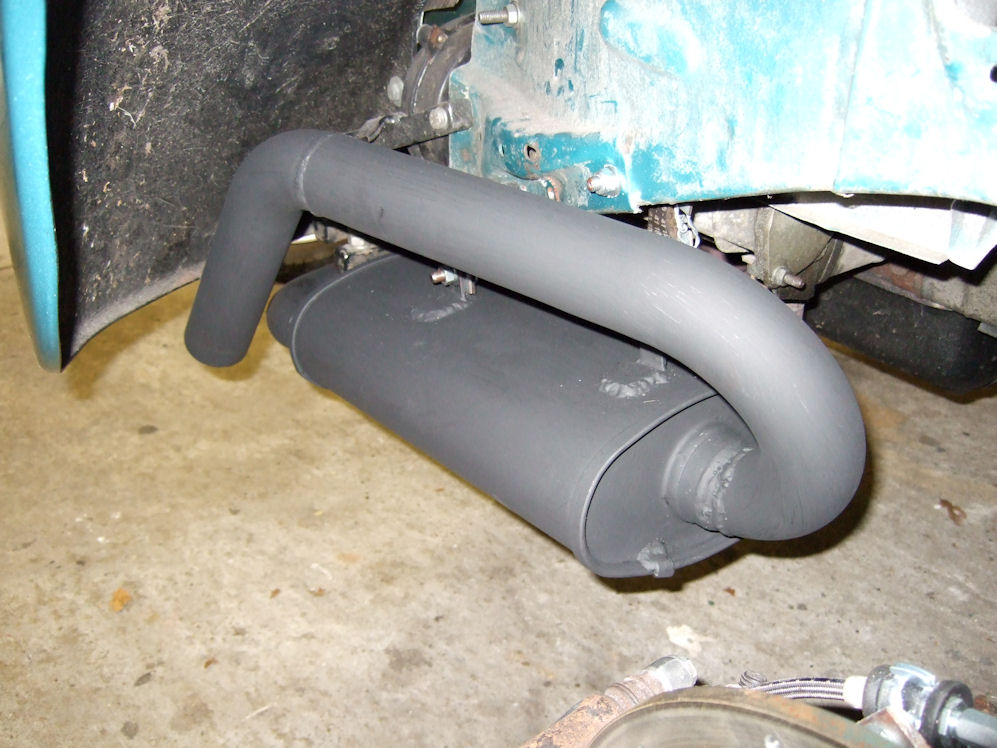
As you can see in this picture there is still plenty of room left between the muffler and the tyre:
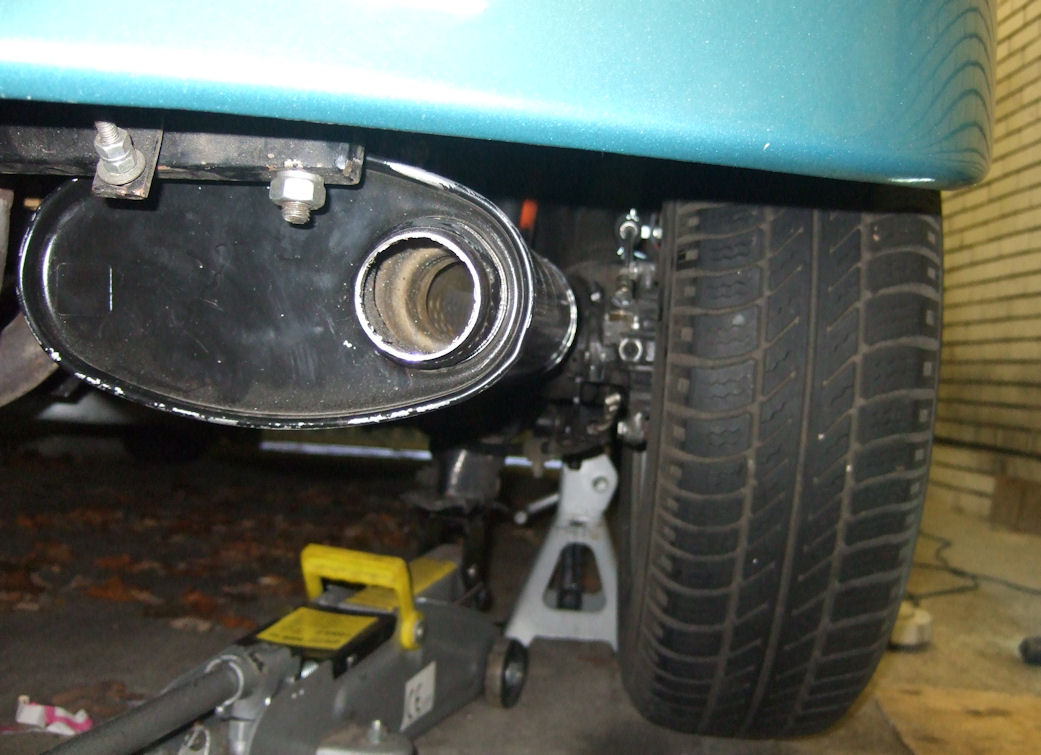
Oh, and it´s got plenty of clearance with the caliper too! Which was the cause of this little project.
The plan is to use an elbow from the header outlet, attach the flexible piece to it, and then use an albow piece from the hideout muffler to attach the flexible piece to the muffler. Then use the original hideout outlet pipe to reach over the muffler to the back and exit under the rear fender, just like it was intended with the hideout muffler.
edit 01-04-2010: After a lot of test-fitting, cutting, welding, testfittin, cutting, welding etc., this was the result:
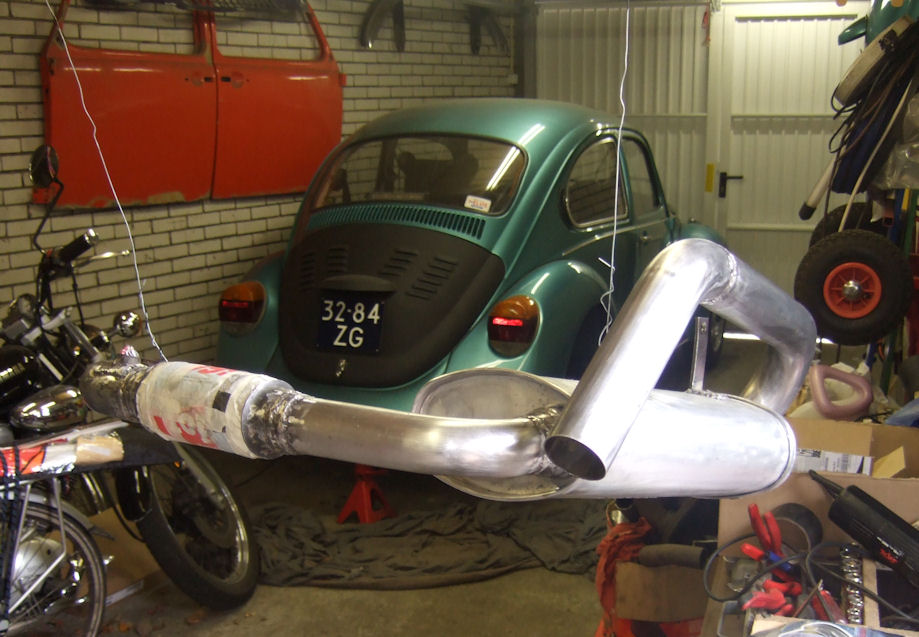
Ready for paint!
And painted, ready for installing:

I painted it with BBQ paint, which is very thin paint. I should have painted it with a roller or a finer brush. Or spray paint it on..
I moved the O2 sensor point closer to the exhaust manifold. The original place was very close to the rear wheel. There it sometimes caught some rainwater from the tyres. And that cooled the sensor. If it rained really hard, with lots of water on the road, the engine started to stutter sometimes. It only happende once or twice, but still….
The muffler installed:
A close up of my distribution belt suspension system:
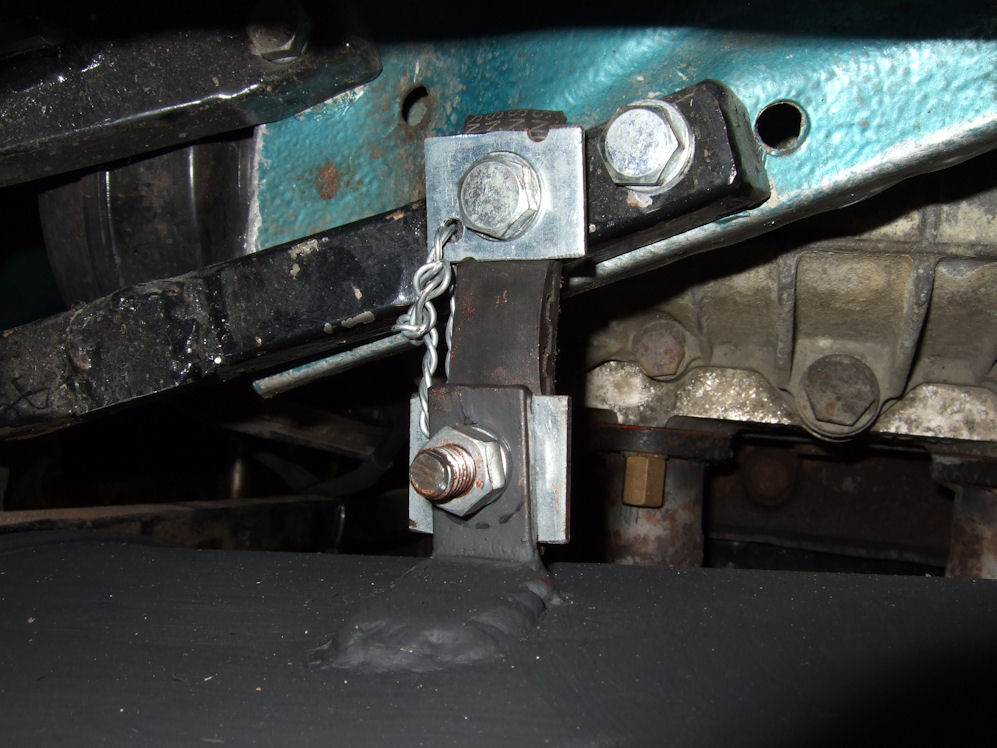
I added some safety wire. If the belt would break, the muffler would still be suspended by the safety wire.
Rearview:
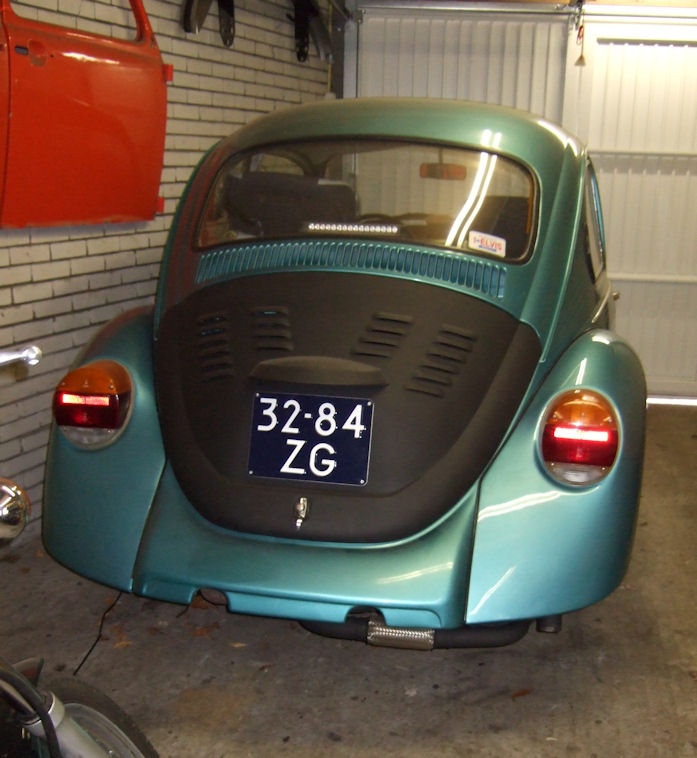
I think it looks good. It’s nicely hidden (they don’t call it a hideout for nothing.. ).
Movie time…
This is the very first time I started it after the winter, so it didn’t run for about 4 months! That’s why it’s a litle smokey.
Idling:
Revving:
It sounds good, it’s not too noisy. I think…it’s hard to tell, running it in the garage. I can’t wait to drive it on the street!

Leave a Reply