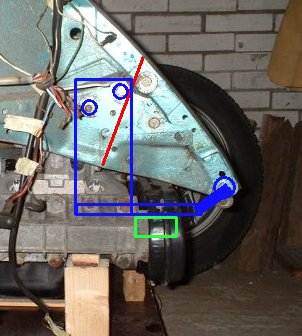
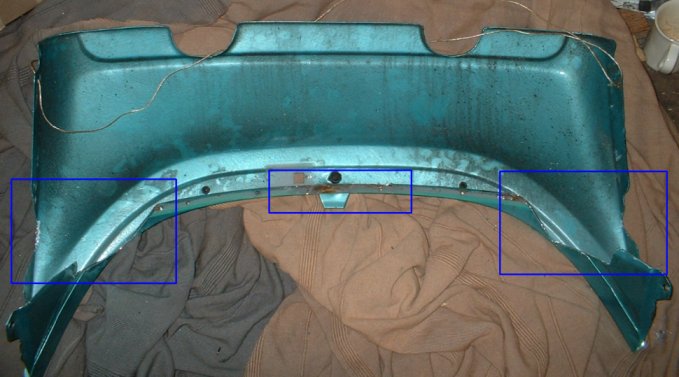
I also had to modify the rear apron to fit. Of course, I had to cut out a piece out of the sides, just like I did to the fenders. But that wasn’t all. On the inside I had to remove simular pieces and I had to remove the lip that normally holds the engine-to-body-seal. I removed so much that the thing actually felt lighter, and I could twist is more easily too afterwards.. But with the rear engine + rear apron supports (see: “design”)I have in mind, this shouldn’t be a problem. It is a really tight fit here too. I probably will take some more out of the distribution covers to give the apron some more clearance. And I will have to “cheat” a little bit. The rear apron is at a slightly smaller angle than original. Here you can see where i made the cuts:
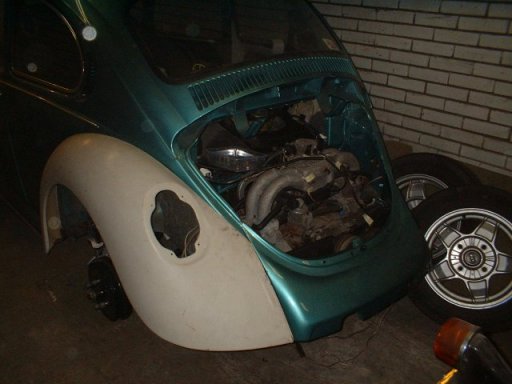
This how it looks when it was installed on the car:
I also tried the rear decklid on. There’s going to be quite a large gap between the car and the decklid, but hey, that will only improve the venting of the engine compartment… 🙂
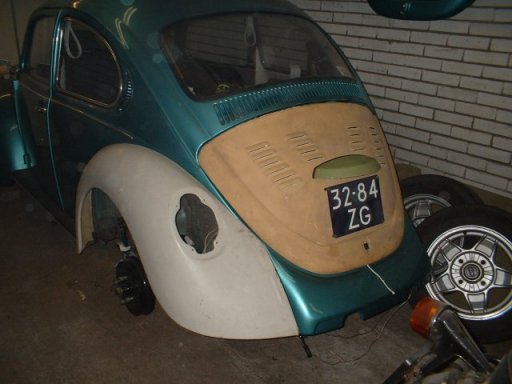
I really like this rear decklid. It’s made from glassfiber and I bought it very cheap on a meeting.
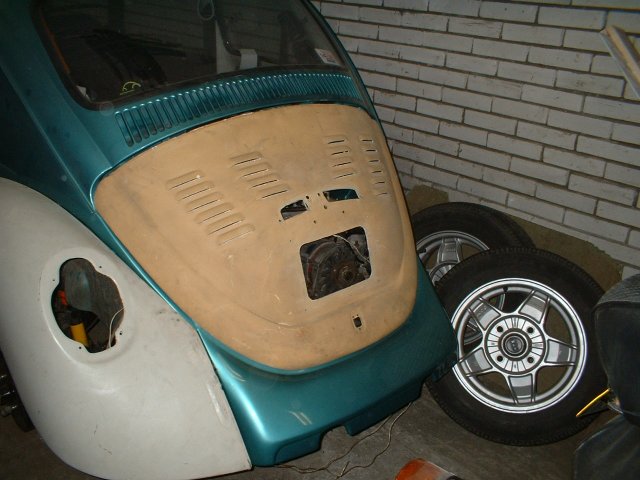
edit 20-03-2006: I put the alternator on, and discovered my decklid hit the alternator pully. I had to cut out a bigger piece behind the license plate (I already had put venting-holes in it). Now it looks like a monster… :
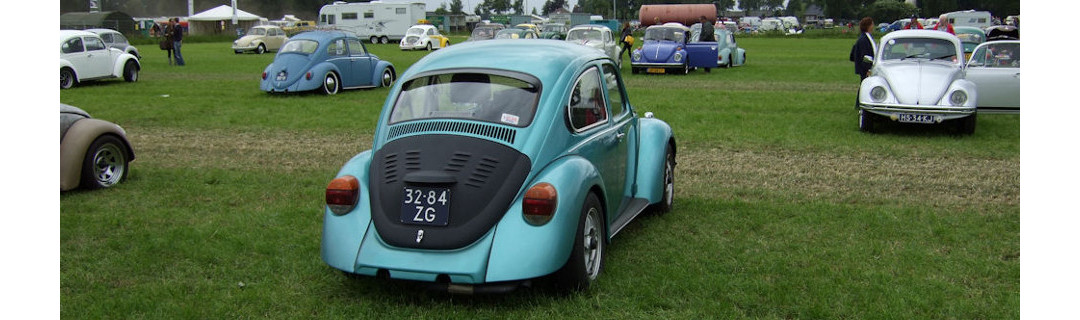
I also cut out another piece from the distribution covers, because the rear apron was still hitting it. It now looks like this:
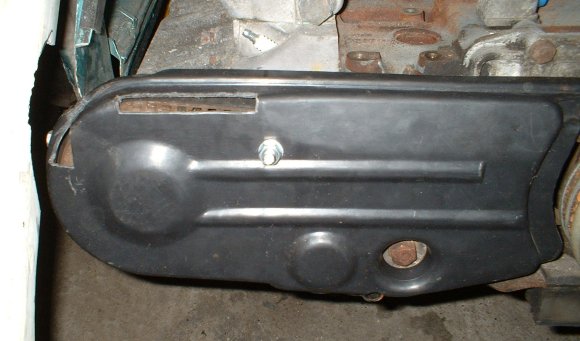
It looks like I cut out to much, but the distribution belt is still covered by the cover, so it can’t hit the rear apron.
Because I remove the top left attachment poin of the covers, I had to create an alternative. I used a piece of threaded bar and put a spacer inside the covers, you can see the end of the threaded bar with a nut on it in the picture.
Leave a Reply